

n8n integration
n8n sits exactly where labels get stuck: an order lands in a spreadsheet, a carrier returns a PDF, a WMS drops ZPL on an FTP server, and something has to turn one into the other and get it onto a thermal printer. The LabelZoom community node makes that two steps in a workflow.
The node is the supported path, and the one these docs cover. It handles binary in and out, carries every conversion option, and keeps the wire details out of your workflow — everything below assumes you have it installed.
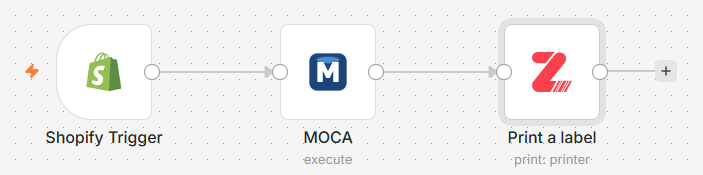
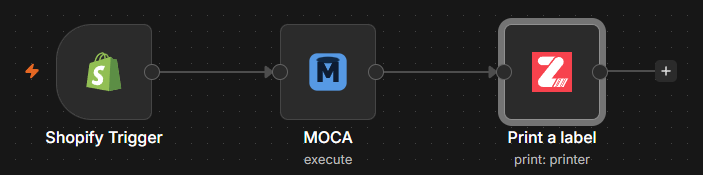
Video Walkthrough
Section titled “Video Walkthrough”Install
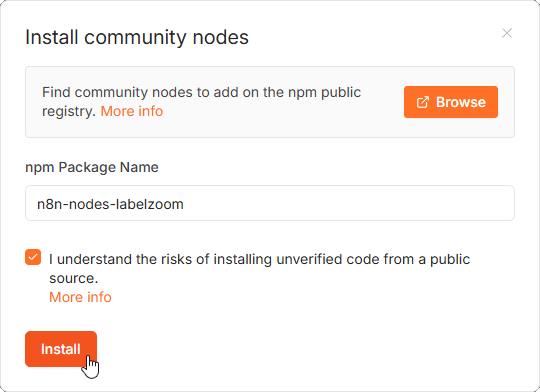
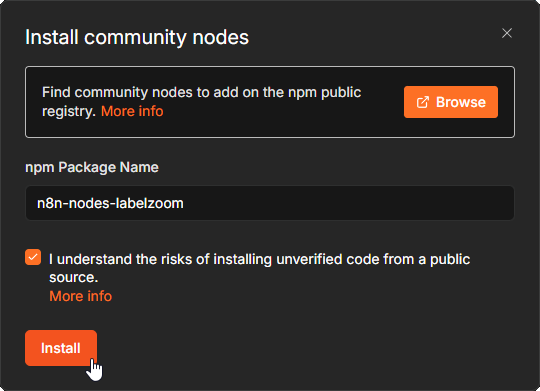
Section titled “Install”Settings → Community nodes → Install, then enter:
n8n-nodes-labelzoomSelf-hosted instances can install it directly:
npm install n8n-nodes-labelzoomBuilt and tested against n8n 2.x, which itself requires Node 24 or later. The node has no runtime dependencies — it uses n8n’s own HTTP helpers.
Credentials
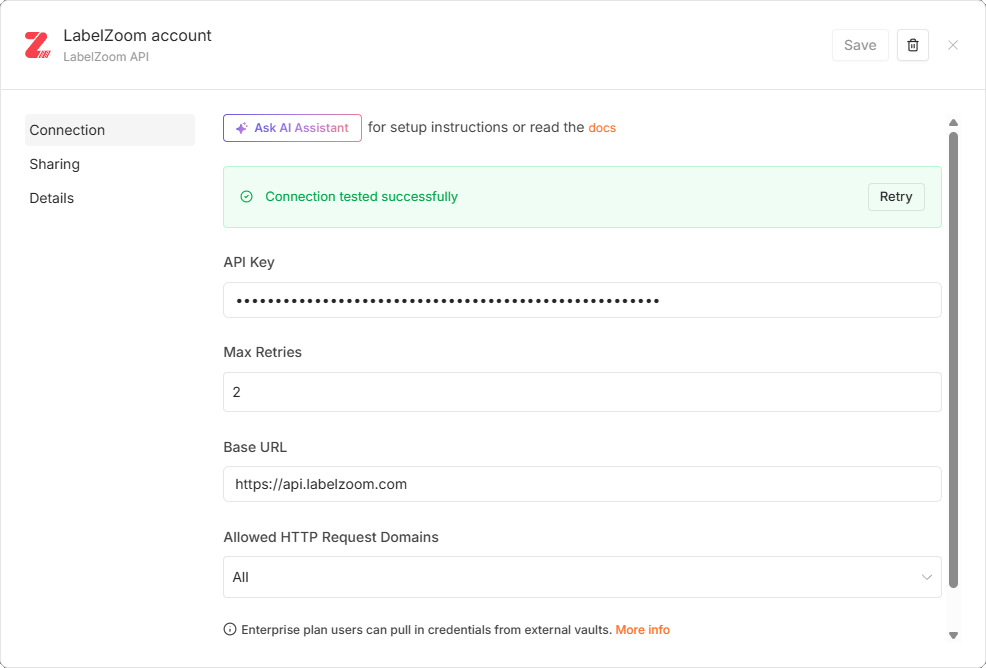
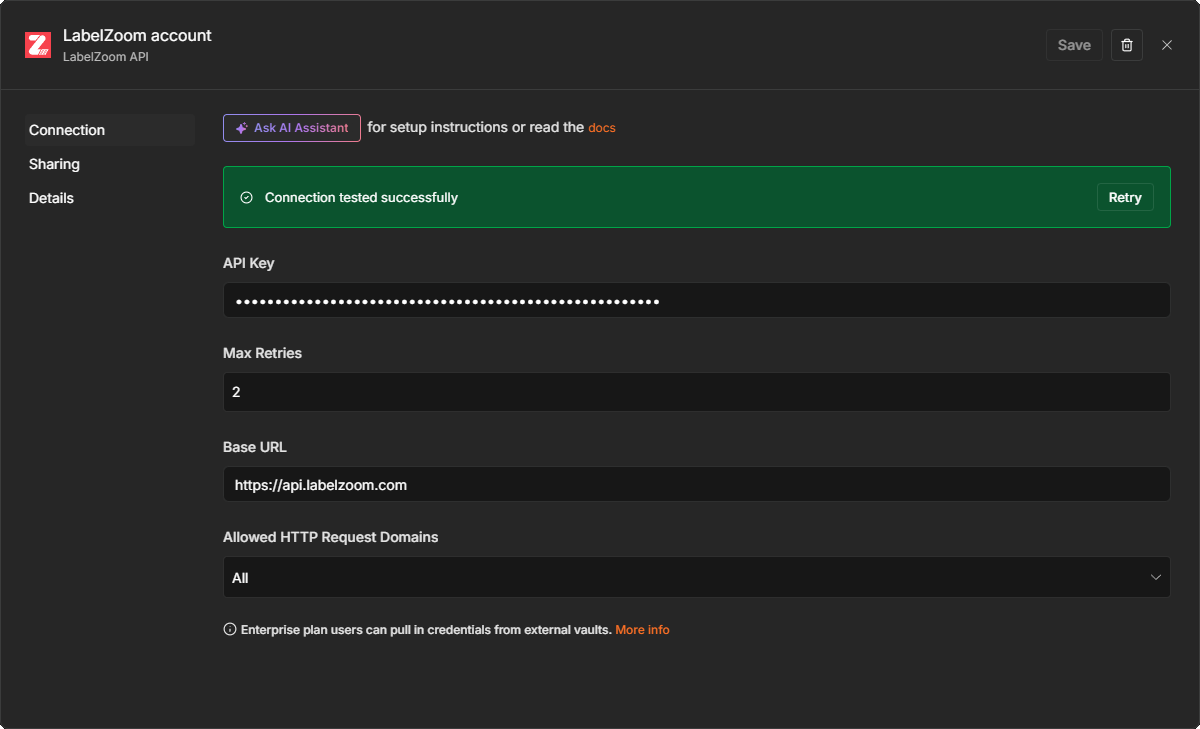
Section titled “Credentials”An API key is optional for converting. Leave the credential unset and the node runs on the free tier: unlimited conversions, watermarked output, first label only, 1 MB request cap. Every example below works as-is.
Add a LabelZoom API credential when you’re ready to ship — see
Authentication. Printing always needs a key, with the
print scope; print implies convert, so one key covers both.
| Field | Notes |
|---|---|
| API Key | Optional for Label operations, required for Printer operations |
| Max Retries | 429 and 5xx are retried with exponential backoff. 0 fails fast. Client errors are never retried. |
| Base URL | Only change this if you were given a dedicated endpoint |
The credential’s Test button calls GET /api/v3/templates, not a conversion — see
A bad API key does not fail for why that distinction matters.
Convert ZPL to PDF
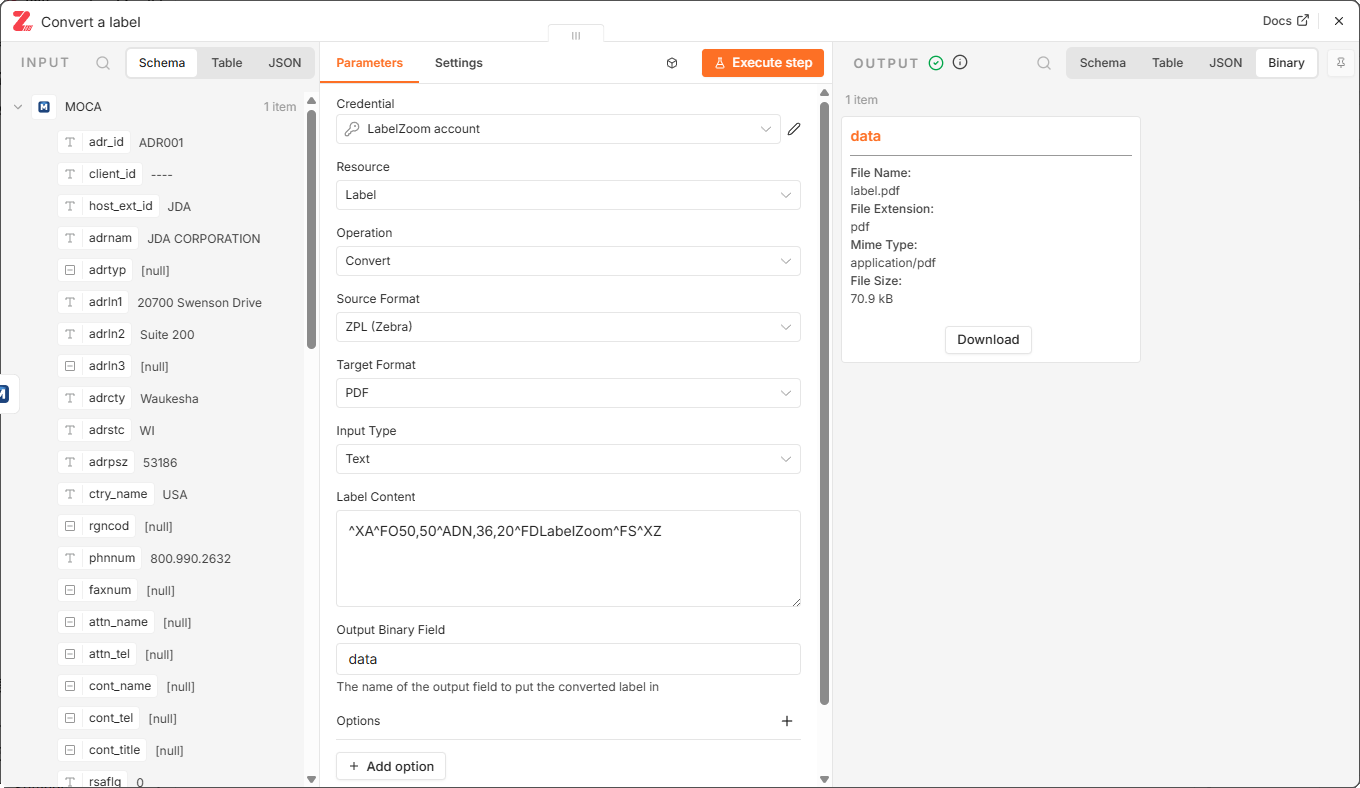
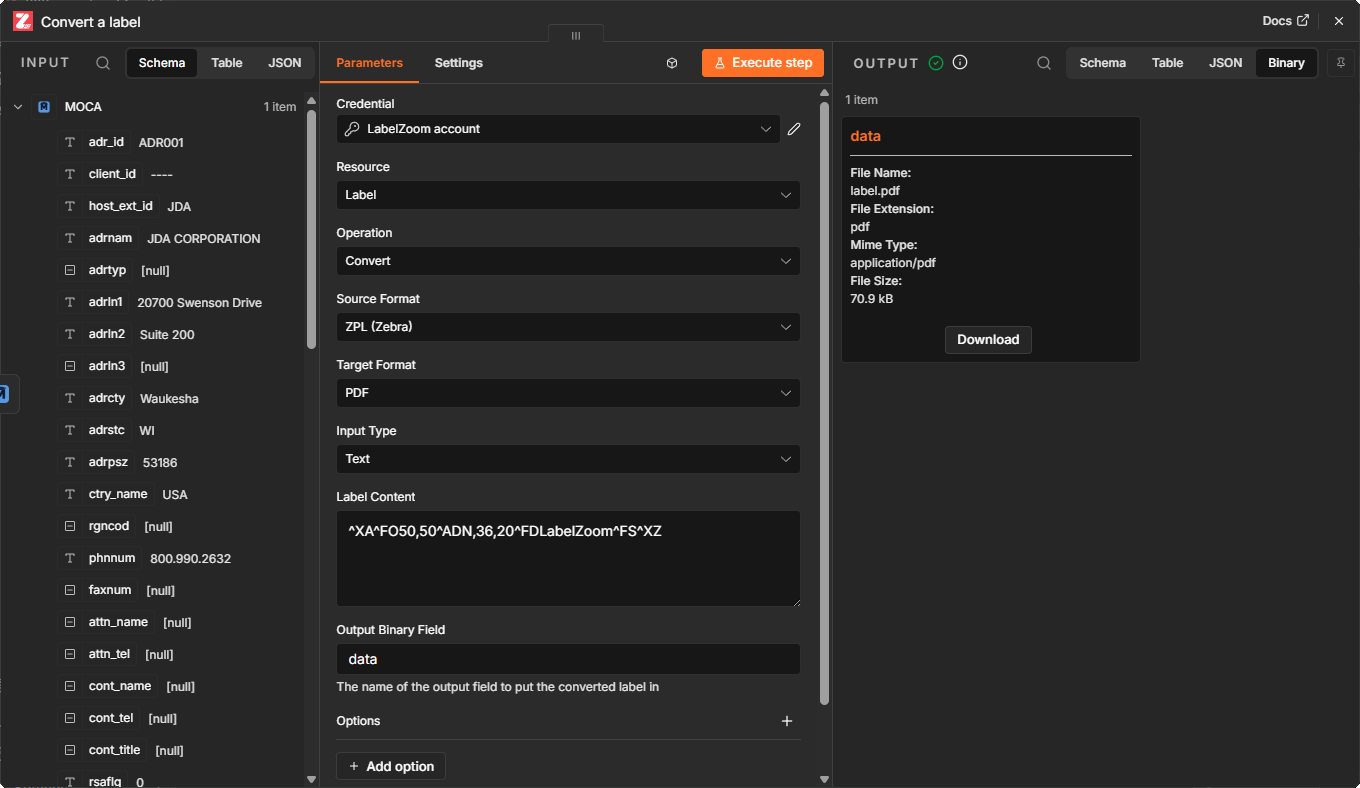
Section titled “Convert ZPL to PDF”The simplest useful workflow: something produces ZPL, you want a PDF.
- Add a LabelZoom node.
- Resource: Label · Operation: Convert
- Source Format: ZPL · Target Format: PDF
- Input Type: Text, and put the label code in Label Content — or leave it on Binary File and point Input Binary Field at a file from the previous node.
The result comes out as a binary field (named data by default), ready for Google Drive,
Dropbox, an email attachment, or an HTTP response.
Set label size and density under Options:
| Option | Value |
|---|---|
| Label Width (Inches) | 4 |
| Label Height (Inches) | 6 |
| DPI | 203 |
Leave width and height unset to have LabelZoom detect the size from the source.
Convert a carrier PDF to ZPL
Section titled “Convert a carrier PDF to ZPL”The other direction, and the more common one in shipping workflows.
- HTTP Request node — download the carrier’s label PDF, with Response Format set to File so it arrives as binary.
- LabelZoom node — Label → Convert, Source Format PDF, Target Format ZPL, Input Type Binary File.
Useful options here:
- PDF Conversion Mode —
IMAGE(the default) rasterizes each page and preserves the exact appearance, which is what you want for a carrier label.NATIVEextracts the underlying vector and text. - PDF Page Number — 0-based. Set
0for the first page; leave it empty to convert every page.
The ZPL comes back as binary and, because ZPL is genuinely textual, as a text field on the
node’s JSON output — so you can pipe it straight into a downstream node without decoding the
binary yourself.
Fill variable data
Section titled “Fill variable data”Most label templates are mostly fixed with a few fields that change. Put the values in Options → Variable Data (JSON):
[{ "sku": "A-100", "qty": "12" }, { "sku": "A-101", "qty": "5" }]Each array entry produces one label. Two entries render the template twice — two pages in a PDF, two concatenated blocks in ZPL. Map it from the incoming item with an expression:
{{ JSON.stringify($json.rows) }}See Multi-label jobs for how each target format handles more than one label, and note that multi-page output is a paid feature.
Print to a cloud printer
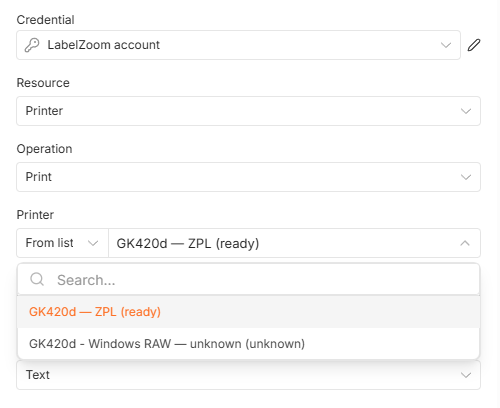
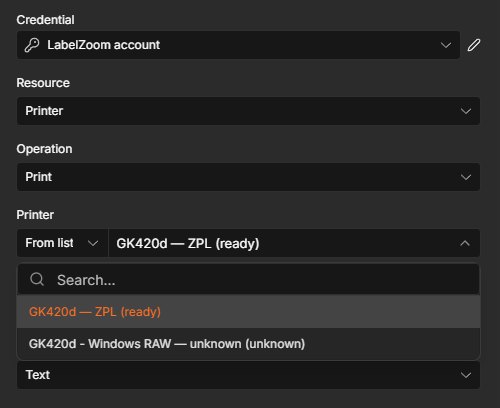
Section titled “Print to a cloud printer”- LabelZoom node — Resource: Printer · Operation: Print
- Printer — pick from the list. The dropdown shows each printer’s native format and live
status, e.g.
Warehouse Zebra — ZPL (ready).
- Source Format — leave on Auto-detect unless the document is one of the printer languages, which all look alike on the wire.
- Point it at your binary field or label text.
You do not need to convert first. If the document isn’t in the printer’s native format,
LabelZoom converts it in transit — a carrier PDF sent to a Zebra becomes ZPL automatically. Every
transform option from Convert works here too, even when no format change happens, so
rotation: 90 on the way to the printer is a one-field change.
Accepted is not printed
Section titled “Accepted is not printed”The node returns as soon as the job is accepted:
{ "jobId": "9f8e…", "status": "dispatched", "printerId": "b2c3…" }dispatched means an online agent has the job. queued means every bound agent is offline and
it will print when one reconnects. Neither means the label came out of the printer — only
the agent moves a job to completed.
If the workflow needs to know it actually printed, turn on Wait for Completion. The node
polls the job until it reaches completed or failed, or the timeout expires. Otherwise, add a
later Printer → Get Job step with the jobId.
Don’t print the same label twice
Section titled “Don’t print the same label twice”Print sends an Idempotency Key; repeating a key returns the original job instead of printing again. The default is:
{{ $execution.id }}-{{ $itemIndex }}which makes a retried step safe. Set it from a stable business value to make a whole workflow re-run safe too:
{{ $json.orderNumber }}A duplicate shipping label is a real cost. This field is the cheapest insurance against one.
Print a designed template
Section titled “Print a designed template”If the label is designed in LabelZoom Studio and published to Print Templates, you don’t need to carry the label code through the workflow at all.
- Resource: Printer · Operation: Print Template
- Pick the printer, then the template. The template dropdown shows each template’s merge
fields, so you can see what data it wants — e.g.
Shipping Label — orderNumber, sku.
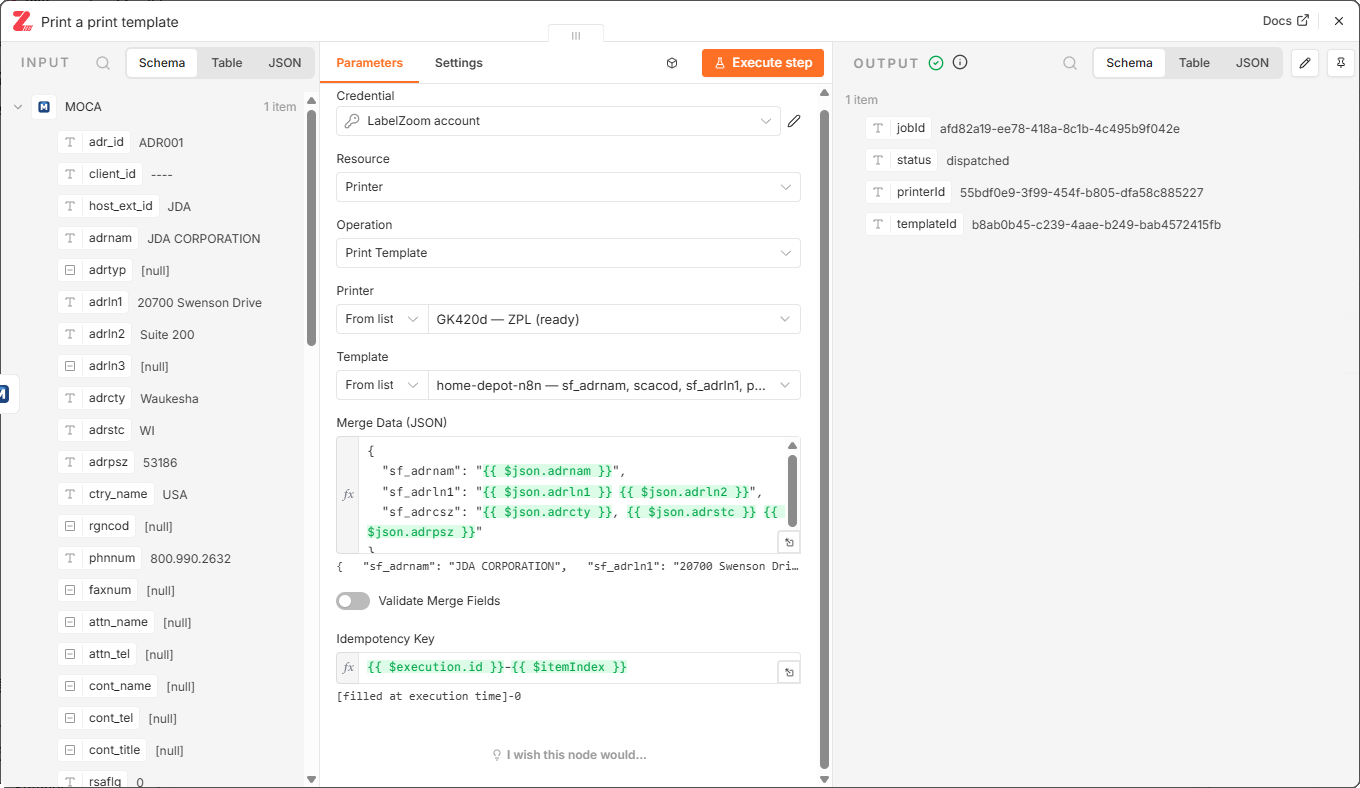
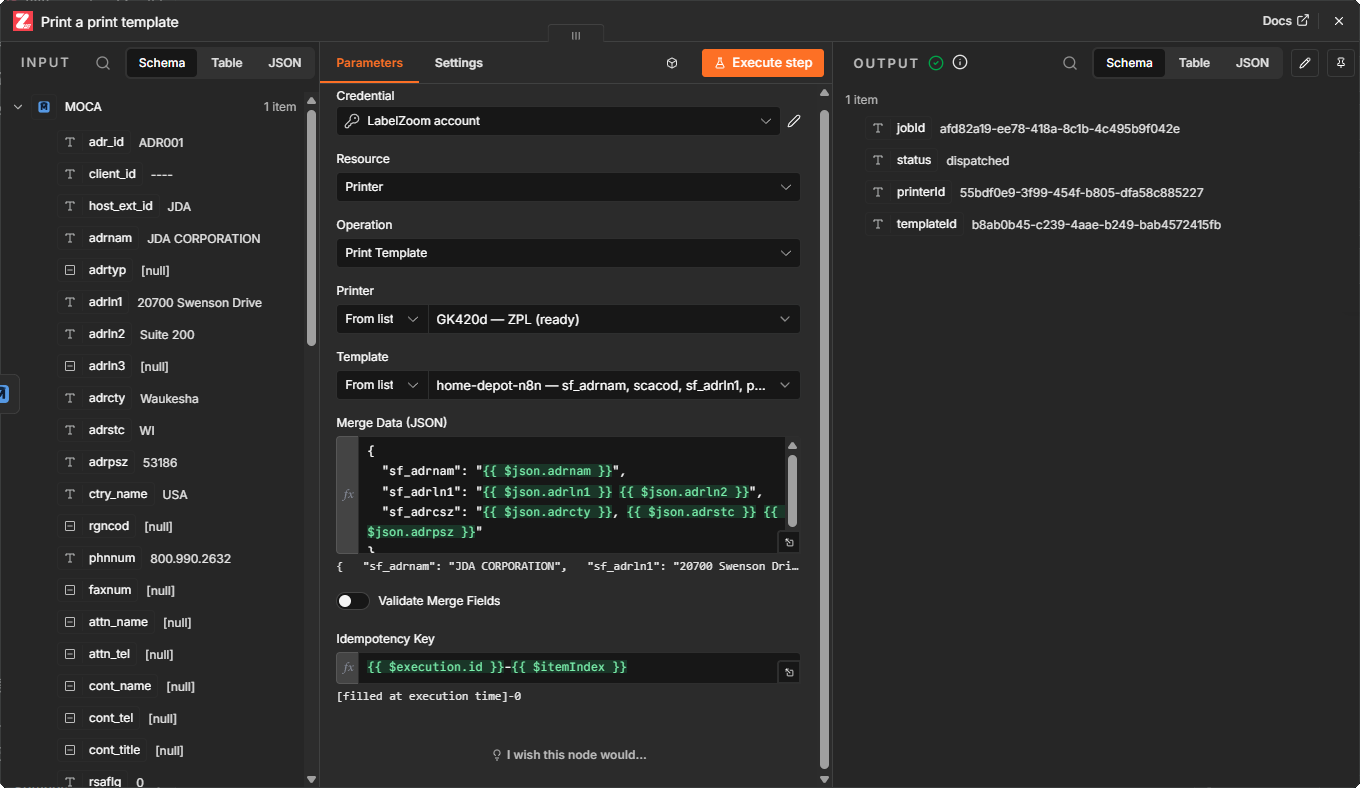
- Merge Data (JSON) — the values, keyed by field name:
{{ JSON.stringify({ orderNumber: $json.number, sku: $json.line_items[0].sku }) }}
- Leave Validate Merge Fields on, so a missing field is rejected rather than printed as a blank space on the label.
Send one object per item. n8n already runs the operation once per input item, so a batch of orders is a batch of items, and each gets its own job and its own idempotency key.
There’s a Label → Convert Template operation too, which renders a filled template without printing it — useful for a preview or approval step.
Production notes
Section titled “Production notes”A bad API key does not fail
Section titled “A bad API key does not fail”The conversion endpoint treats an unresolvable credential as anonymous rather than returning
401. A typo’d key returns a perfectly healthy 200 carrying a watermarked free-tier label. Use
the credential’s Test button — it calls a different endpoint that does reject a bad key — and
during setup, convert one label and look at it.
Test keys and live keys
Section titled “Test keys and live keys”Keys created from the dashboard are always test keys (lz_test_): they work everywhere, and
they are always watermarked and never billed. Production keys (lz_live_) are provisioned on Pro
and above. A workflow that “works fine but watermarks in prod” is nearly always this, not a
configuration problem.
Rate limits
Section titled “Rate limits”Request throughput is capped, and the cap is noticeably tighter on the Free and Basic tiers — those plans are sized for evaluation and light use rather than sustained automation. If a workflow is doing real volume, moving up a tier is the fix; see Rate limits and plans.
The budget is shared by everything using the same API key, so running more workflows in parallel
does not buy more throughput. Size any Split In Batches loop with that in mind. The node retries
429 and 5xx with backoff and honours Retry-After, so an occasional limit is absorbed rather
than failing the execution.
Never retry an auth failure
Section titled “Never retry an auth failure”The node does not retry 401 or 403, and neither should anything else calling the API.
Repeated authentication failures are themselves rate limited, and the effect is not scoped to the
workflow that caused them — hammering a bad credential can lock out every other workflow on the
same n8n instance. If you set Retry On Fail on the node, keep the attempt count low.
Secrets
Section titled “Secrets”The API key is a bearer credential: anyone holding it can spend your quota. Keep it in an n8n credential, never in a node parameter or an expression.
Calling the API directly
Section titled “Calling the API directly”The node is the supported way to reach LabelZoom from n8n. If you need raw HTTP anyway — from a Code node, or for something the node doesn’t cover — start from Supported formats and the JavaScript Quickstart.
One trap to carry over: take the response as binary. Five of the thirteen targets are binary,
and epl, tspl and dpl come back as text/plain but can inline raw bytes — EPL’s GW and
TSPL’s BITMAP embed a 1-bpp image, and DPL output opens with a literal STX. Decoding those to
a string corrupts every label carrying graphics.
See also
Section titled “See also”- Supported formats — the full source/target matrix and content types
- Conversion parameters — every option behind the node’s Options collection
- Cloud Print API — the printer, job, and agent endpoints the Printer resource wraps
- Errors — status codes and retry guidance
- JavaScript Quickstart — for a Code node, or anywhere you’d rather call the API directly